As we work from home more often, many business owners and creators are needing to learn how to film professional YouTube videos at home. Along with that, we find that there is nothing more frustrating than trying to adjust your curtain so the lighting in your at-home studio is just right.
Then there’s the hushing your pets, cleaning the messy bookshelf in the background, and trying to get your audio working properly… it can all be a little overwhelming.
However, once you’ve found your process and started to use these few simple steps we’re about to share, you can significantly upgrade your videos without all of the stress. So that’s what we’re covering today, let’s get started!
Lighting Your Studio
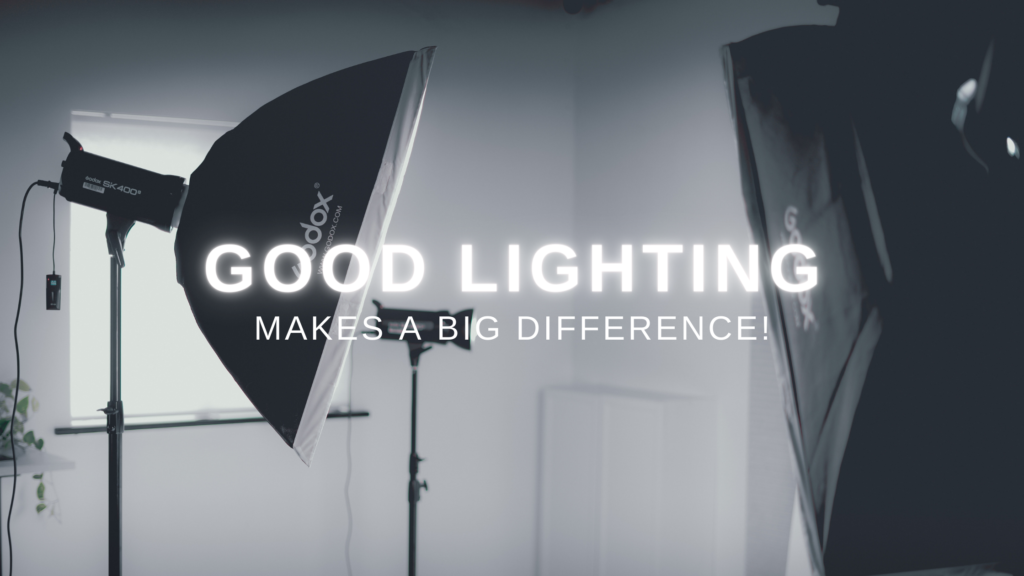
Proper lighting can make any video’s quality increase significantly. Natural light from windows is great as one source of light, but it can be inconsistent, especially on cloudy days. So let’s talk about some other types of studio lights to help you film professional YouTube videos from home.
Ring Light
Ring lights provide a quick and easy way to shoot videos using any type of camera. Most will stand on a tripod but you can also hang these on walls. Many ring lights will come with phone and camera holding accessories as well as different coloured lighting.
Softbox
Softbox lights are large and provide a better quality white or warm light. These are mostly used in photography or for high-quality videos. They take a bit more time to setup and take down, as well as to learn how to use. However, they definitely add some production value.
LED Panel
LED panels are lights that are generally intended for use outdoors and are often used in store signs, however they can be used inside too. These provide the same quality of lighting as a softbox but are much smaller and cover less range.
When filming at home, following the three-point lighting rule will make a huge difference.
1) Key Light
The key light shines directly on the subject of the video, whether that is you or an item. This is the main light and should be the strongest point.
2) Fill Light
The fill light will also shine on the subject but from a side angle. It's usually placed lower than the key light, such as on the subject's face. Its goal is to get rid of any shadows or shaded areas.
3) Backlight
The backlight will illuminate the subject from behind (at an angle if necassary) which will help highlight contours and shapes in the video.
If you’re just starting out, don’t worry if you don’t have all three points of light. Prioritize the key light and fill light, and then continue to improve from there.
These steps to proper lighting will be beneficial no matter where or what you choose to film.
Set Your Scene
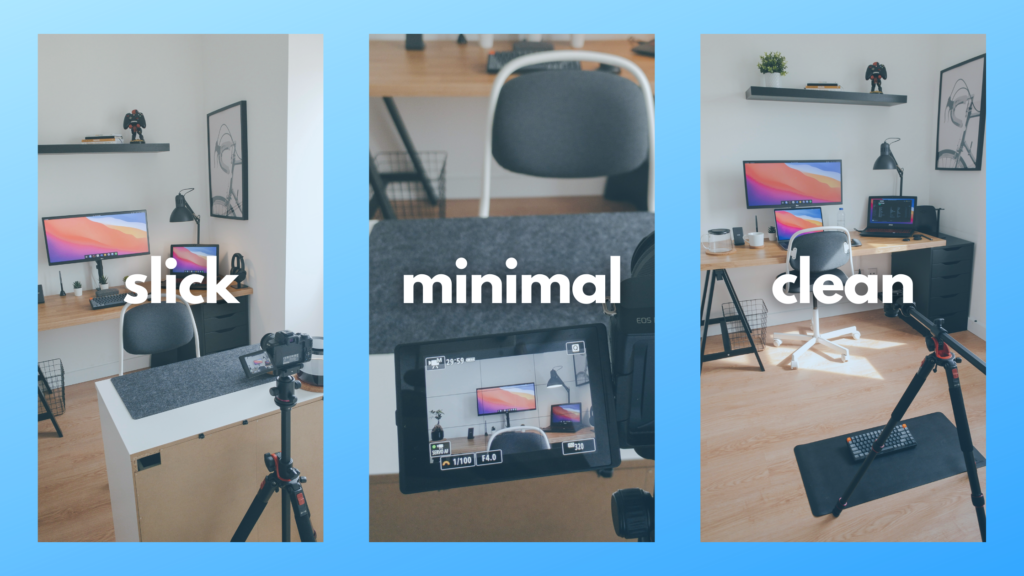
It’s easy to get carried away in making an exciting background for your video. The truth is though that clean and slick is almost always best. Keep minimal distractions behind your subject to ensure all attention is on them.
Make sure the subject of the video is far enough from the backdrop for depth of field and to avoid shadows or darkness. There should be no other faces in view to keep the watcher’s attention.
Lastly, including additional decorative lighting like colored LEDs or fairy lights can be eye-catching and aesthetically pleasing as well. Just like in the example image shown below, we used a light green LED light behind the couch for a pop of color.

Frame Your Shot Like A Pro
Framing your subject like a pro takes some practice to get right. We suggest following the rule of thirds, which generally delivers compelling and well-composed visuals. The rule of thirds is a guideline that suggests we place subjects in the left or right third of an image or video, just as we’ve done in the above shot. This makes for a more open and professional vibe. Good framing will make a big difference in your ability to film professional YouTube videos at home.
Next, make sure all of your videos have straight and stable shots. The camera should also be at eye level with the subject looking straight ahead.
Finally, make sure to leave room between the subject’s head and the top of the frame. Close-up shots can get easily cut off, and you may want some room to play with in post production.
The Importance Of Good Audio
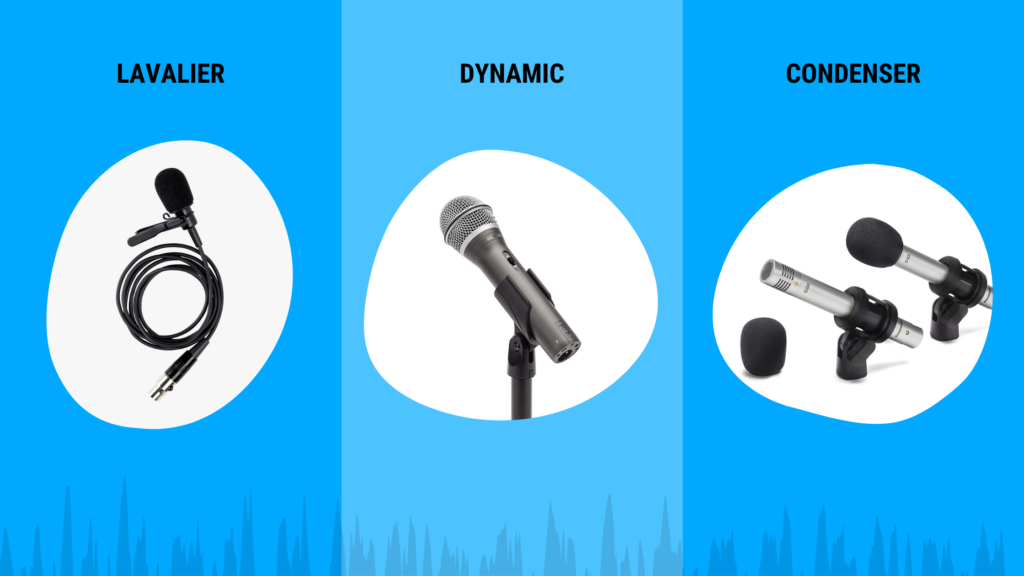
Audio is the most important element that can make or break a video. Make sure to check the clarity and volume of your audio before you start filming. Using an external microphone will make a huge difference, and it’s well worth the investment. Let’s talk about the types of microphones to consider.
Lavalier
Lavalier mics are clipped somewhere on the speaker’s shirt. You will often see them on celebrities or talk show hosts because they allow the speaker to move freely. The GO Wireless Mic from Rode is one of favorites!
Dynamic
Dynamic mics are often used on stages or with speakers. They are hardy, simple and can be used for many different tasks.
Condenser
Condenser mics are usually used in studios and by streamers as they are able to pick up sound in great detail. They also look cool and add an extra aesthetic to your shots if that’s something you like.
Each microphone will do the job, but it’s important to choose one that will be a good fit for you and your style of video. Do some research, ask your creator friends, and then make your call.
Suggesting what gear to use, and even how to use it best, is something we often help clients with at Vireo. So if you’re stuck, feel free to get in touch.

Setting Up Your Camera
Let’s go over how to setup your camera whether you’re using an iPhone or a DSLR. If you’re using an iPhone make sure to set the camera settings to 1080p/4K. No matter the filming device, always shoot in landscape and get familiar with your camera’s focus features.
Also, be sure to check your editing software or computer beforehand and film in the right format for it.
Here are the main three factors that go into a filming good shots:
ISO
ISO is how sensitive your camera is to light. Having a low ISO means it’s less sensitive, and a high ISO means it’s more sensitive. So high ISO will make things brighter, and low ISO will darken your shot. Take this into account when setting up for the lighting in your location.
Aperture
Aperture’s two main functions are to control the exposure of your video and capture the scenery’s depth and sharpness. This function can bring your background from 0 to 100. If you want that blurred background look, you’ll need to shoot with a low aperture such as F 3 to F 5 for ideal results.
Shutter
Shutter speed helps when capturing a moving subject. Using a slow speed with a moving subject would result in a blurry image. Adjusting the shutter accordingly is essential, and should always be at least twice your fps.
These three settings all affect each other, so you’ll need to find the right balance for your needs. This takes some practice to get right. If you’re just starting out, there’s nothing wrong with using auto settings!

Your Personal Presence
Finally, let’s talk about you or your subject. Even with all of the right equipment and settings, poor presence on-camera will kill a video and make the viewer uninterested.
This is a topic we covered in-depth on a recent blog post. So for more tips on improving your on-camera presence, check out our 5 Tips To Improve On-Camera Presence.
You're Ready To Create
Okay, now you know all of the steps to film professional YouTube videos at home. Getting good at this will take consistent practice. The most important thing though is to just start. Get your hands dirty, and perfect things as you go.
If you’re still overwhelmed, it never hurts to ask for help. Vireo Video’s mission is to help businesses and people like you improve their funnels and increase return on investment (ROI) with video. We have several case studies you can check out that share more about this. You can also get in touch with us to learn more.


